
Lights For Photography
Taking quality pictures that show sufficient detail is not as simple as mounting a flashlight on your camera and shooting away. This is especially true for photographs of products that need to be sold, partially lit, over light and dark images will ruin the image of your product and business. Hiring a professional studio to do your photography can be an expensive affair for most of us. You could invest in superior camera but, good lighting would still be something that is essential.
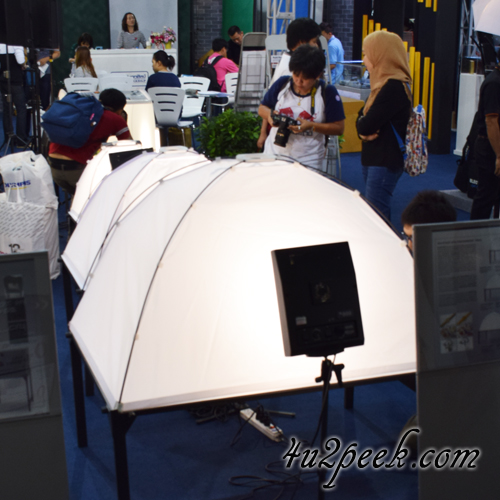
Light Domes Various Sizes, Lights Are Outside
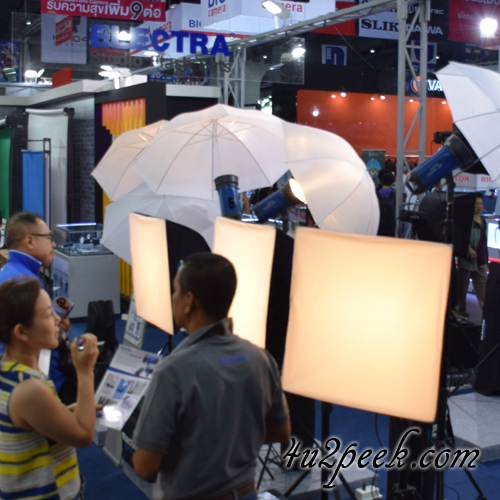
White Umbrellas For Photography, Diffuse Light
Product photography requires some planning, you will need to create the right environment in terms of product placement and lighting. A great product photographed badly could result in a failed product, browsers checking the product online would just ignore the picture and look for other options. Good lighting for a photograph does not mean that, you wash the image with big glare. The design on the product, the product label and even the texture on the product or package, should be clearly visible. It might be a better idea to take multiple photographs, this will allow you to show the product from various angles.
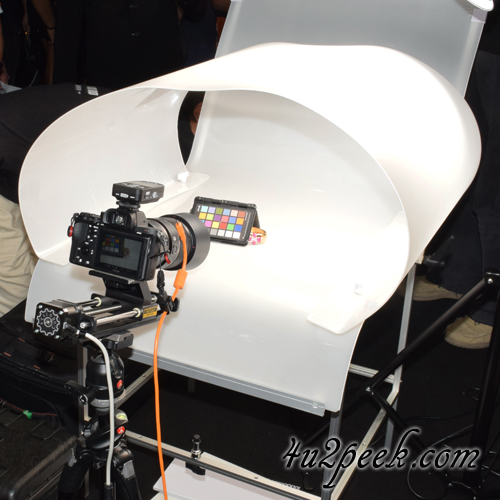
Most products are photographed with a white background, this ensures that no color from the background reflects back on to the product being photographed. Make sure that the lights that you choose are white and not tinted blue or yellow. Don't presume that an edit with Photoshop can resolve the color problem. Photography lighting needs to be movable, it is even better if it can be rotated when installed. Placing the lights too close to the object being photographed can burn out details. On the other hand if your photography lights are too far away from the object, you could end up with underexposed images or ugly shadows.
White Panels For Photographing Larger Subjects
A Simple Collapsible Light Dome, Affordable
When photographing small products, using a light dome or tent might be a good idea. The entire dome is made from opaque or translucent material which is white in color. You could have a light from the front, the translucent material allows lights to be placed on the sides too. The light enters the dome or the tent, gets reflected from the sides and top and then shines on the product. Elaborate photography lights could have controls that allow you to set the intensity of the light. A simpler option would be to move the lights nearer or further away from the day, depending on the desired effect.
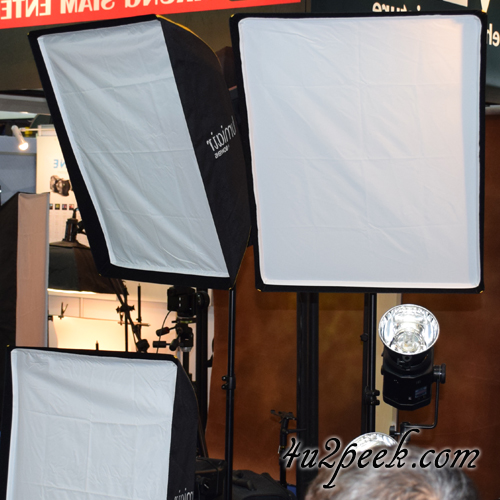
The light panel or bulb should ideally not be allowed to shine directly on the object, a white cloth sheet is often placed in front of the light. This helps diffuse the light and also results in softer shadows, on the other hand a naked and direct light would cast sharp shadows on the product or object. Before you invest in such photography lights, check out the procedure to be followed if the covering white sheets need to be cleaned.
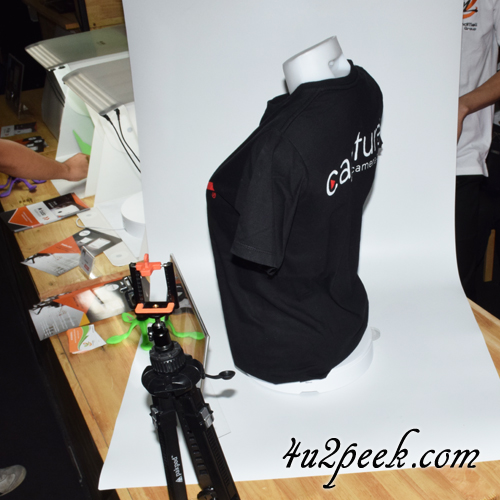
Lighting Suitable For Photographing Clothes
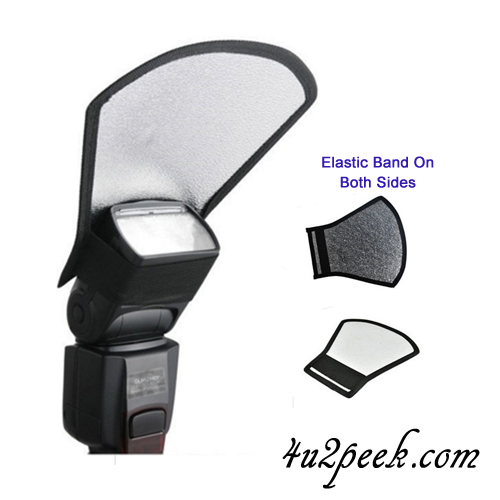
Simple Option To Diffuse And Reflect Flash Light
When photographing large objects or taking pictures of a human model, the lighting required might need to be sufficiently large. Light panels that give longer portions of diffused lights are better suited when the subject or object is big. Depending on the effect that you wish to create through the image, you could go for complete diffused lighting or combine sharp and bright spotlights with diffused lights. You might need to experiment with a few angles and keep varying the light intensity and position until, you find the best effect. Shooting fixed objects is always easier than taking pictures of objects or subjects that move.
When picking your lights, you might want to add a few simple reflectors to the shopping lists. The best reflectors have a dull grayish color, they generally come with a hand hold on the back. A 10 inch and 24 inch reflector should cover you for most of not all shoots. You could make do with sheets of white paper, this would allow you to go for the reflectors in your second shopping spree.
The above report focuses on lighting, let's not overlook the role of the camera in controlling light. Coordinate with the speed and aperture settings when taking your photographs. For example, if you need the object to come really sharp, move to a high aperture number (f22 to f30 range), set your lights, take a test photograph. If the picture appears too dark, you could increase the intensity of the lights or lower the shutter speed. Make it a point to click a few quick shots before you begin your actual shoot, use the results to guide you about lighting requirements.
We do hope that the above information would help you improve the quality of your photographs. It is rightly said that each image has a character and feeling of its own. You will need to try various combinations before you get into the final shooting session. We do hope that you have a great time, keep visiting this section as we will be adding more useful tips related to photography.